This manual provides comprehensive guidance for installing the Honeywell TH6210U2001 thermostat‚ ensuring proper setup and functionality․ It is designed for both professional installers and DIY homeowners‚ covering compatibility‚ wiring‚ and troubleshooting steps to guarantee efficient temperature control and system harmony․
1․1 Overview of the Thermostat and Its Features
The Honeywell TH6210U2001 is a T6 Pro Programmable Thermostat designed for precise temperature control and energy efficiency․ It features a high-definition touchscreen display‚ geofencing capabilities‚ and smart device integration for remote monitoring․ The thermostat supports multiple heating and cooling stages‚ including heat pumps and dual-fuel systems․ Its programmable scheduling allows users to customize temperature settings for comfort and energy savings․ The design includes a slim profile‚ optional decorative cover plate‚ and compatibility with most HVAC systems‚ making it a versatile solution for modern homes․
1․2 Importance of Proper Installation
Proper installation of the Honeywell TH6210U2001 thermostat is crucial for ensuring accurate temperature control‚ system compatibility‚ and energy efficiency․ Incorrect wiring or setup can lead to malfunction‚ increased energy bills‚ or even damage to the HVAC system․ Following the manual’s guidelines ensures safety‚ optimal performance‚ and warranty validity․ Correct installation also prevents potential issues like uneven heating or cooling and maintains the thermostat’s advanced features‚ such as programmable scheduling and smart device integration‚ guaranteeing long-term reliability and user satisfaction․

Pre-Installation Requirements
Before installation‚ verify HVAC system compatibility and gather necessary tools and materials․ Ensure power is turned off at the circuit breaker for safety and proper setup․
2․1 Checking Compatibility with HVAC Systems
Confirm the Honeywell TH6210U2001 thermostat is compatible with your HVAC system‚ including heat pumps‚ furnaces‚ and central air conditioning․ Ensure the wiring configuration matches the thermostat’s terminal designations․ Refer to the manual for system type verification and compatibility charts to avoid installation issues․ Proper compatibility ensures accurate temperature control and system functionality․ Always verify system requirements before proceeding with installation to guarantee seamless operation and optimal performance․
2․2 Gathering Necessary Tools and Materials
To ensure a smooth installation‚ gather the required tools and materials․ You will need a screwdriver‚ wire strippers‚ and a voltage tester for safe electrical work․ The package includes the thermostat‚ UWP Mounting System‚ Junction Box Adapter‚ and optional Decorative Cover Plate․ Check the contents to confirm all items are present․ Additional materials like screws or wall anchors may be needed‚ depending on your wall type․ Ensure all tools are within reach before starting the installation process for efficiency․
Unboxing and Inventory
Carefully unpack the Honeywell TH6210U2001 thermostat package and verify all components․ Ensure the thermostat unit‚ UWP Mounting System‚ Junction Box Adapter‚ and Decorative Cover Plate are included․ Check for any damage or misplacement of items to ensure a smooth installation process․
3․1 Package Contents
The Honeywell TH6210U2001 package includes the T6 Pro Programmable Thermostat‚ UWP Mounting System‚ Junction Box Adapter‚ and an optional Decorative Cover Plate․ The thermostat unit is pre-assembled with the UWP Mounting System for easy installation․ The Junction Box Adapter ensures secure mounting to an electrical junction box‚ while the Decorative Cover Plate helps conceal any paint gaps left by the previous thermostat․ Verify all items are present and undamaged before proceeding with installation to ensure a seamless process․
3․2 Optional Accessories (Cover Plate‚ Junction Box Adapter)
The Honeywell TH6210U2001 includes optional accessories like the Decorative Cover Plate and Junction Box Adapter․ The Cover Plate is useful for covering paint gaps from previous thermostats or providing a sleek finish․ The Junction Box Adapter is essential when mounting the thermostat directly to an electrical junction box‚ ensuring secure and stable installation․ Both accessories enhance the thermostat’s appearance and functionality without compromising performance․

Preparing the Installation Site
Before installation‚ ensure the HVAC system’s power is turned off at the circuit breaker; Remove the old thermostat carefully to avoid damaging wires or the wall․
4․1 Turning Off Power to the HVAC System
Before starting the installation‚ locate the circuit breaker controlling the HVAC system and switch it off․ Verify the system is completely powered down to ensure safety․ Tag the breaker if necessary to prevent accidental startup․ This step is crucial to avoid electrical shocks or damage to components during the thermostat removal and installation process․ Allow a few minutes for the system to cool down before proceeding․
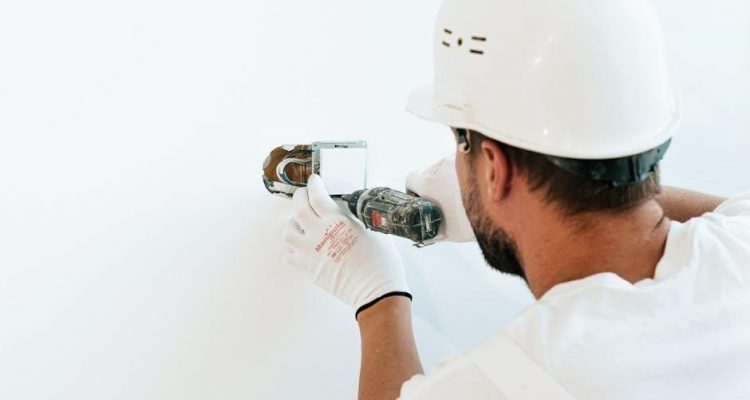
4․2 Removing the Old Thermostat
After disconnecting the power‚ carefully remove the old thermostat from the wall․ Gently pull the thermostat away from the mounting plate or wiring․ If it resists‚ check for screws or clips holding it in place․ Once removed‚ disconnect the wires from the terminals‚ noting their positions for reference․ If the thermostat uses a cover plate or adapter‚ remove these as well to access the wiring and mounting hardware․ Set all components aside for disposal or recycling․
Mounting the Thermostat
Mount the thermostat using the Junction Box Adapter‚ ensuring it’s level and securely fastened to the wall for proper installation and accurate temperature control․
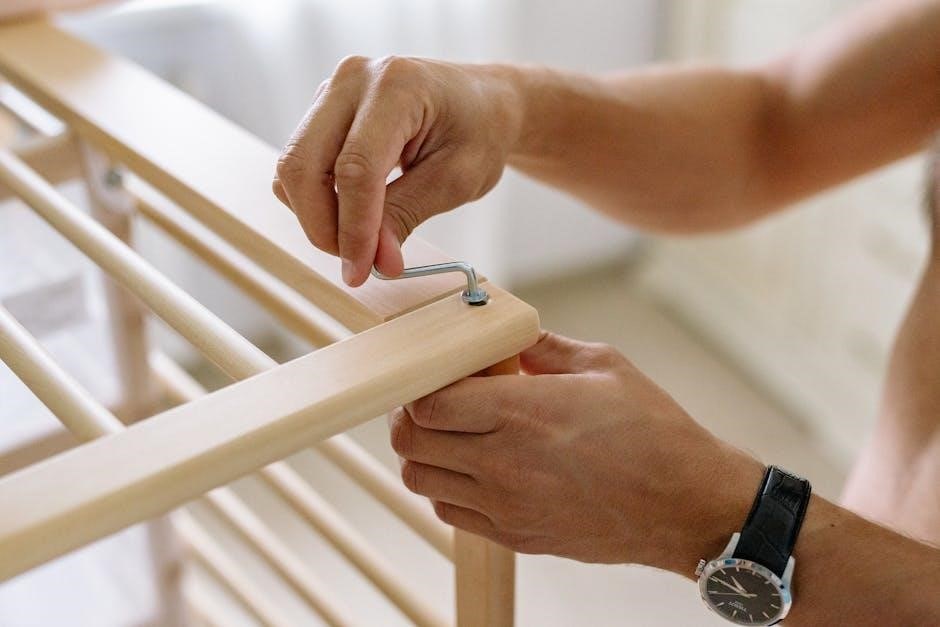
5․1 Using the Junction Box Adapter
Mounting the Honeywell TH6210U2001 using the Junction Box Adapter ensures a secure and level installation․ Begin by separating the adapter from the optional Cover Plate․ Next‚ attach the adapter to the wall or an existing electrical junction box using the provided hardware․ This step is crucial for maintaining compatibility with your HVAC system and ensuring the thermostat is properly aligned․ If you’re covering a paint gap from a previous thermostat‚ the adapter helps achieve a clean finish․
5․2 Leveling the Thermostat
Proper leveling of the Honeywell TH6210U2001 thermostat is essential for accurate temperature sensing and operation․ Use a spirit level to ensure the device is perfectly horizontal․ If mounted directly to the wall‚ adjust the mounting screws to achieve balance․ For installations using the Junction Box Adapter‚ fine-tune the adapter’s position to align the thermostat properly․ Double-check the level after installation to ensure optimal performance and prevent any operational issues related to sensor accuracy․
Wiring Connections
Correctly connecting wires to the Honeywell TH6210U2001 thermostat terminals is crucial․ Match each wire to its designated terminal (R‚ Rc‚ Y‚ W‚ etc․) as per the manual․ Ensure secure connections to avoid malfunctions and safety risks․
6․1 Understanding Terminal Designations (R‚ Rc‚ Y‚ etc․)
Terminal designations on the Honeywell TH6210U2001 thermostat are critical for proper wiring․ The R terminal connects to the 24VAC power from the heating transformer‚ while Rc connects to the cooling transformer․ The Y terminal links to the compressor contactor‚ and W connects to the heating stage․ G controls the fan‚ and C provides common wiring․ Optional terminals like O/B handle heat pumps․ Correctly matching wires to these terminals ensures safe and efficient system operation․ Always refer to the manual for specific configurations to avoid errors․
6․2 Connecting Wires to the Thermostat Terminals
When connecting wires to the Honeywell TH6210U2001 thermostat‚ ensure the power is off․ Strip wires to 1/4 inch and insert them firmly into the correct terminals․ Match wires to their designated terminals (R‚ Rc‚ Y‚ W‚ G‚ C‚ etc․) as per the system’s requirements․ If only one R wire is present‚ join R and Rc using the slider tab․ Secure all connections tightly to avoid loose wires․ Refer to the wiring diagram in the manual for specific configurations․ Double-check connections to prevent errors and ensure safe system operation․
Programming and Setup
This section guides you through setting the time‚ configuring basic settings‚ and establishing schedules․ Adjust temperature preferences and system type to optimize your comfort and energy efficiency․
7․1 Configuring Basic Settings
Begin by setting the time and date‚ ensuring accurate schedule execution․ Choose your system type (heat pump‚ furnace‚ etc․) and select the temperature units (°F or °C)․ Configure the HVAC system type‚ heat/cool cycles‚ and fan settings․ Set the desired temperature range and humidity levels if applicable․ These basic settings ensure the thermostat operates correctly with your HVAC system․ Follow the on-screen prompts to finalize configurations‚ ensuring they align with your home’s specific needs for optimal performance and efficiency․
7․2 Setting Up Schedules and Preferences
After configuring basic settings‚ create a weekly schedule tailored to your lifestyle․ Set preferred temperatures for different times of the day‚ such as wake‚ sleep‚ and away periods․ Customize temperature ranges‚ humidity levels‚ and fan operations to optimize comfort; Utilize smart features like geofencing or energy-saving modes to enhance efficiency․ Ensure all preferences align with your system’s capabilities and household needs․ These settings will help maintain consistent comfort while reducing energy consumption․
Testing the System
After installation‚ test the system by verifying heating and cooling operations․ Ensure compatibility and proper functionality across all modes to confirm successful setup and performance․
8․1 Verifying Heating and Cooling Operations
To verify heating and cooling operations‚ ensure the thermostat switches between modes smoothly․ Set the thermostat to heat mode and check if the furnace activates․ Switch to cool mode and confirm the AC starts․ If the system fails to respond‚ check wiring connections and terminal designations for accuracy․ Proper operation ensures efficient temperature control and system compatibility‚ as outlined in the manual for optimal performance․
8․2 Checking System Compatibility
After installation‚ ensure the Honeywell TH6210U2001 is compatible with your HVAC system․ Verify support for heat pumps‚ furnaces‚ or central air conditioning․ Check if the thermostat’s wiring matches your system’s requirements․ Review the manual for specific compatibility configurations‚ such as single-stage or multi-stage systems․ Proper compatibility ensures seamless operation and optimal performance․ If issues arise‚ consult the troubleshooting section or contact support for assistance․
Troubleshooting Common Issues
Identify and resolve common issues like wiring errors‚ power outages‚ or display malfunctions․ Refer to the manual for detailed solutions to ensure proper thermostat functionality and system operation․
9․1 Identifying Wiring Errors
Wiring errors are common issues that can prevent proper thermostat operation․ Check all connections to ensure wires are securely attached to the correct terminals (R‚ Rc‚ Y‚ etc․)․ Verify that no wires are loose or damaged․ Refer to the terminal designation chart in the manual for guidance․ If the system fails to power on‚ inspect the circuit breaker or fuse․ Ensure the HVAC system’s power is off during wiring․ If issues persist‚ consult the troubleshooting section or contact a licensed professional for assistance․
9․2 Resolving Power or Display Issues
If the thermostat’s display is blank or unresponsive‚ check the power source․ Ensure the HVAC system’s power is turned off at the circuit breaker or fuse box․ Verify that all wires are securely connected to the correct terminals․ Loose connections can cause display issues․ If the problem persists‚ reset the thermostat by removing the batteries or cycling the system’s power․ Consult the manual for specific reset procedures․ If the display remains non-functional‚ contact a licensed electrician or HVAC technician for professional assistance․